Full disk access and enabling the extension is required for Webroot SecureAnywhere to properly function on macOS Mojave and Catalina.
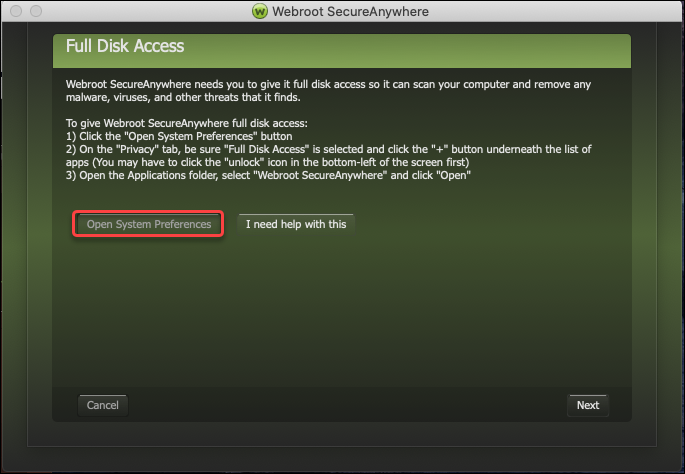
- Click Open System Preferences. The System Preferences window will open.
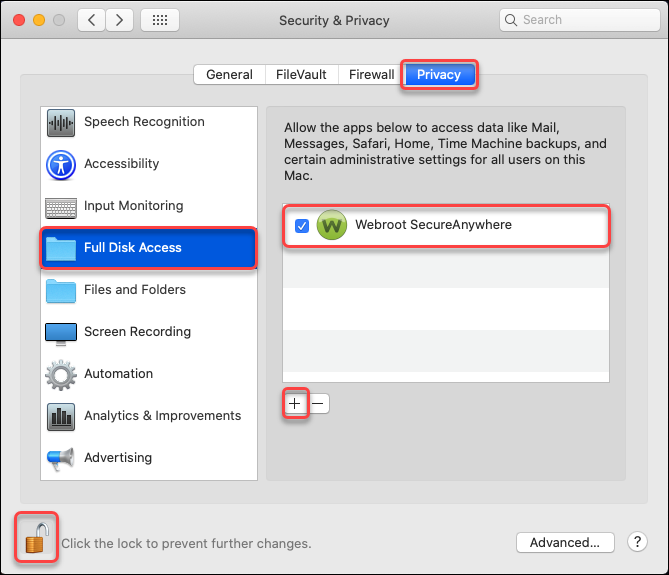
- Under Security and Privacy, click Privacy.
- In the apps list on the left, select Full Disk Access.
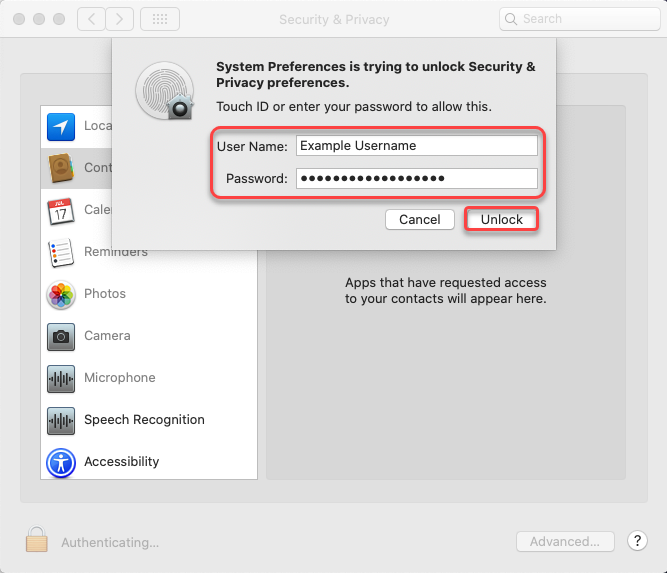
- If the padlock icon is locked, click it. Enter your Macintosh User Name and Password, then click Unlock.
- To the right of the apps list, click the "+" button. A new window will appear.
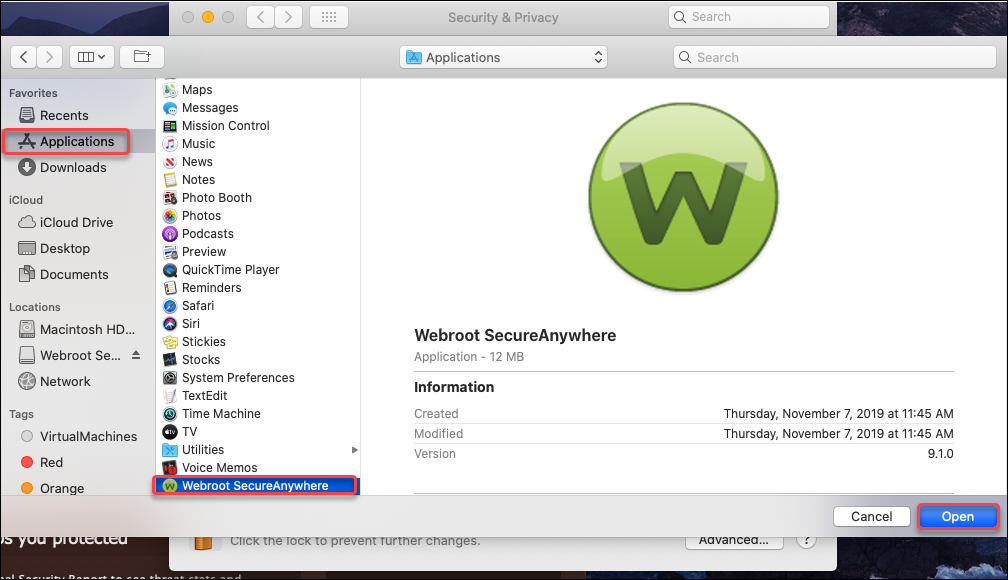
- Click Applications.
- Select Webroot SecureAnywhere and click Open.
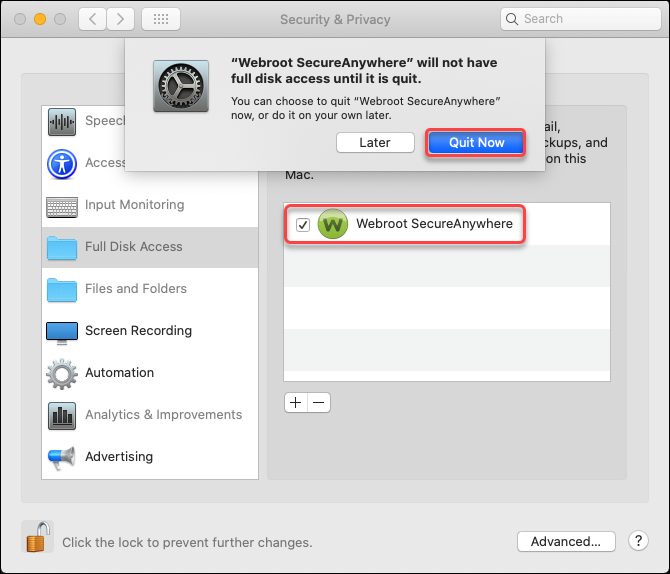
- Select the checkbox next to Webroot SecureAnywhere. A pop-up will appear.
- Click Quit Now.
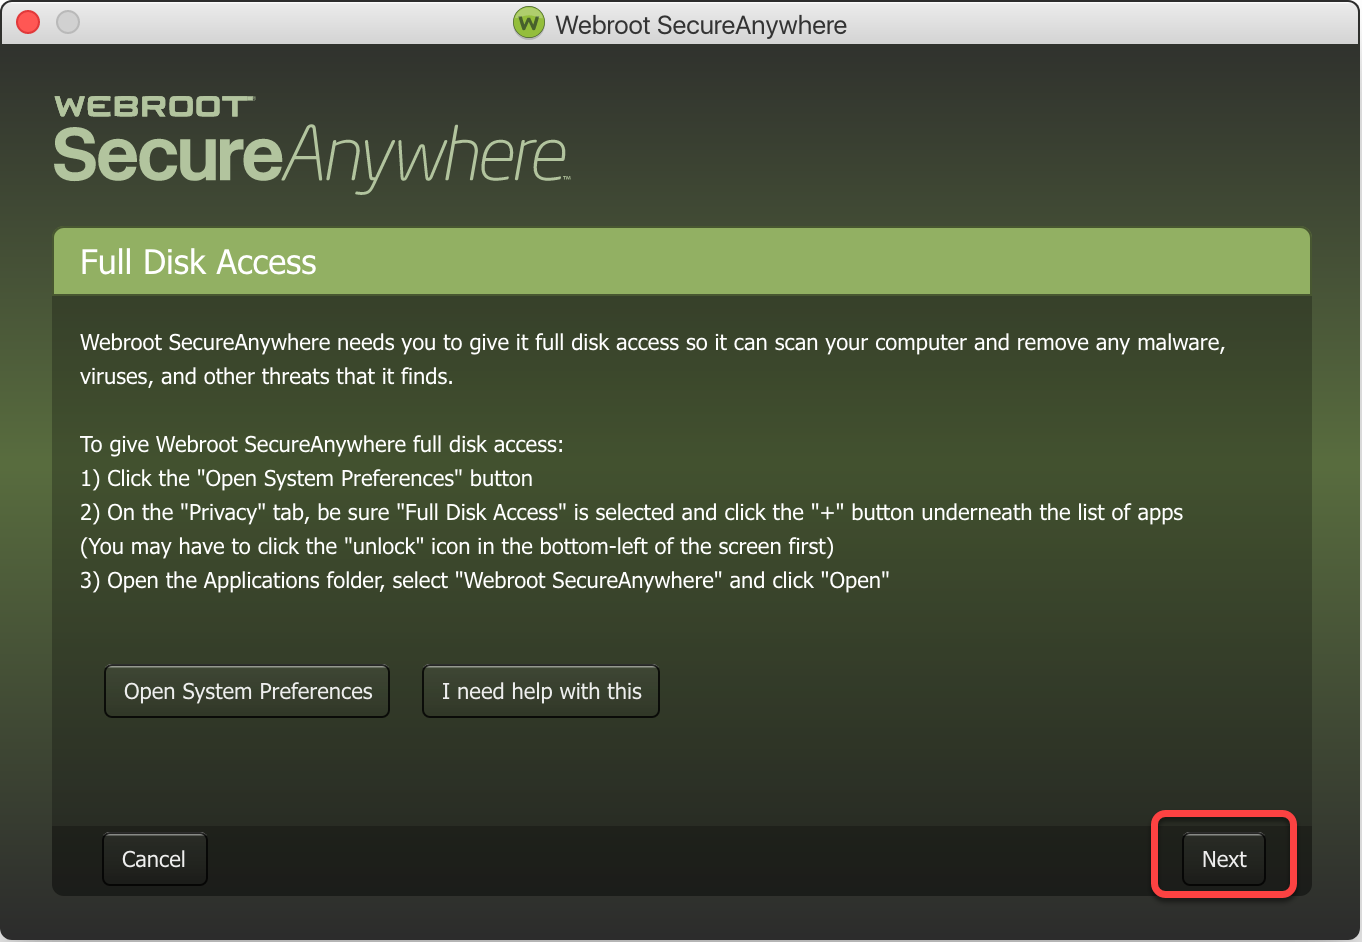
- Return to the Webroot SecureAnywhere window, and click Next.
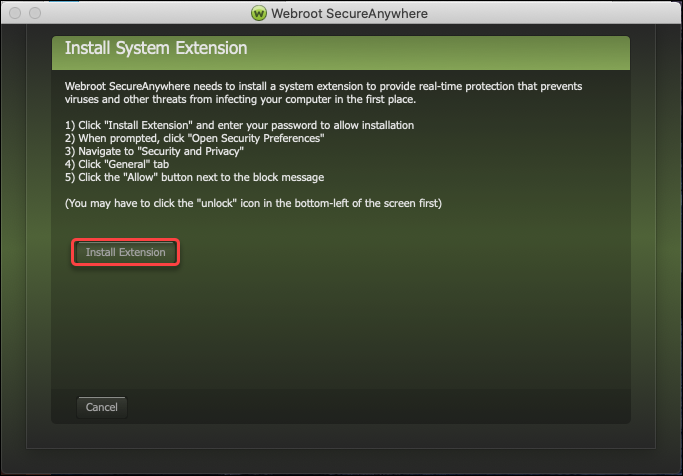
- Click Install Extension.
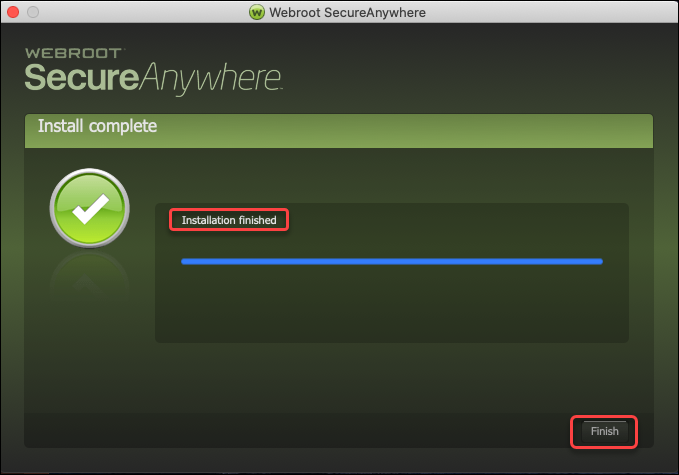
- Once the pop-up shows Installation finished, click Finish.
Thanks for your feedback!
Powered by noHold, Inc. U.S. Patent No. 10,659,398
All Contents Copyright© 2024