This solution addresses the most current version of Windows for home users. View older Windows uninstall instructions here.
If you would now like to reinstall Webroot, view our instructions.
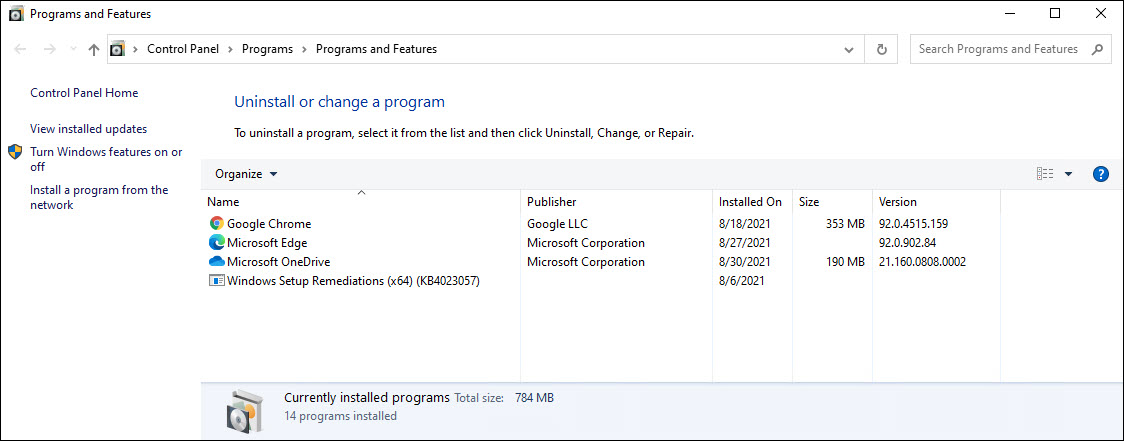
Uninstall Windows 10
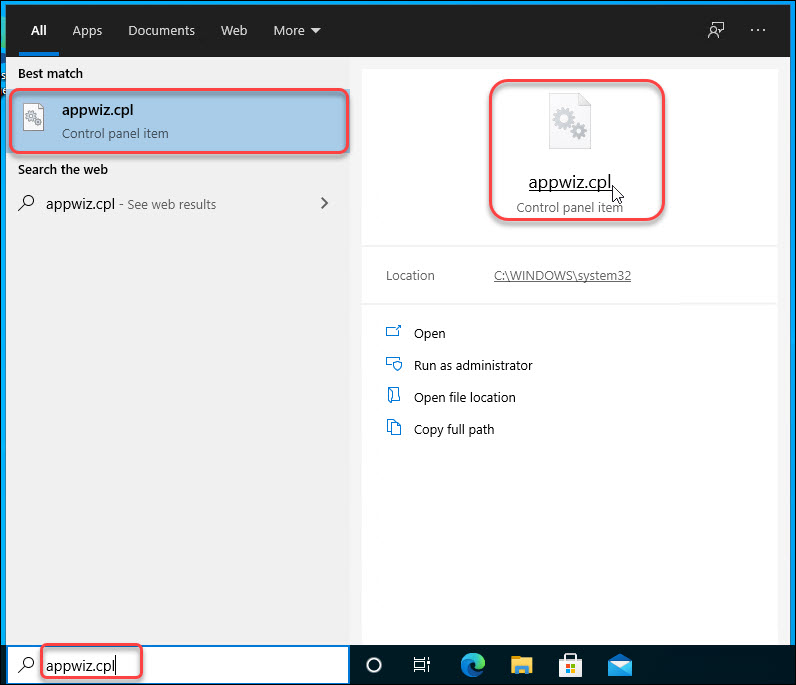
- In the Search field near the Start Menu, type "appwiz.cpl" (without quotes).
- Click appwiz.cpl.
- Select the Webroot SecureAnywhere line item and then click Uninstall.
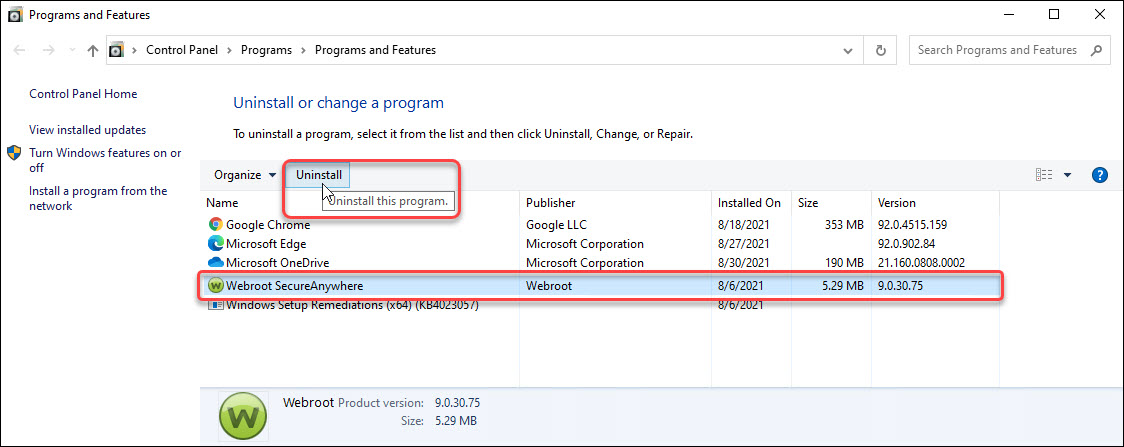
Note: If Webroot SecureAnywhere does not initially appear, click the refresh button. This can happen if Webroot was recently installed. If there still is not a Webroot line item, open a support ticket.
If you receive the error "SecureAnywhere is currently managed by the Web Console and all changes need to be applied centrally" the PC has a business license." View instructions business uninstall.
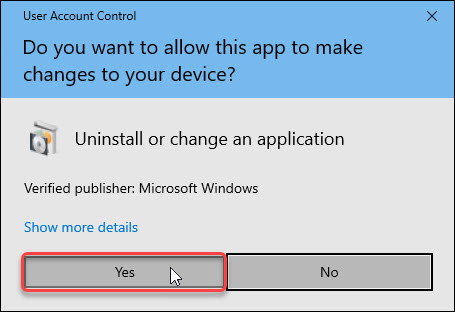
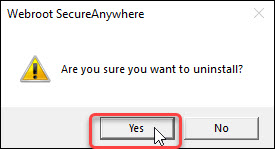
- Click Yes.
- Click Yes.
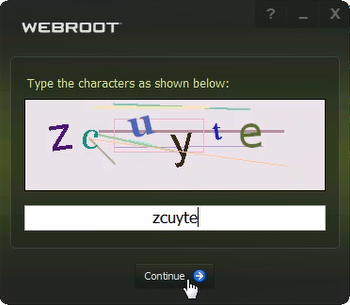
- If required, enter the requested characters and click Continue. If the wrong characters were entered, click OK in the pop-up and try again.
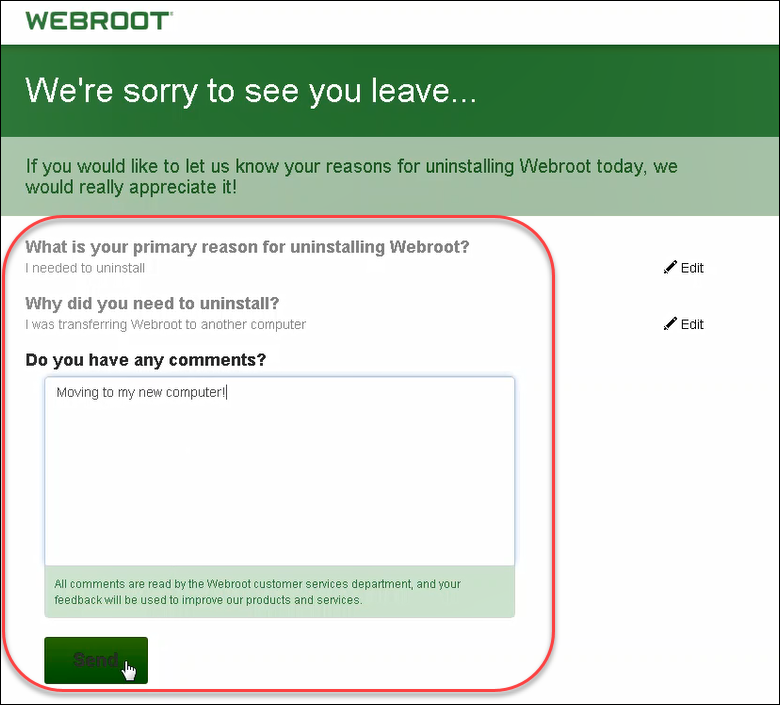
- Optional: To help Webroot improve, in the pop-up select the reason for uninstalling and provide additional comments.
- Return to the uninstall page and click the refresh button.

If you would now like to reinstall Webroot, view our instructions.
Note: If you are reinstalling the software, it is required that you reboot your computer during this process. If you are uninstalling SecureAnywhere to troubleshoot an issue, we recommend you reboot your computer and test the issue before reinstalling it.
Thanks for your feedback!
Powered by NOHOLD Inc. U.S. Patent No. 10,659,398
All Contents Copyright© 2025